Getting Started with tcpdump

As you may already know it’s a packet-capturing tool.
Its tool is used to mainly create a pcap file and bring it to Wireshark for better analyzing the traffic.
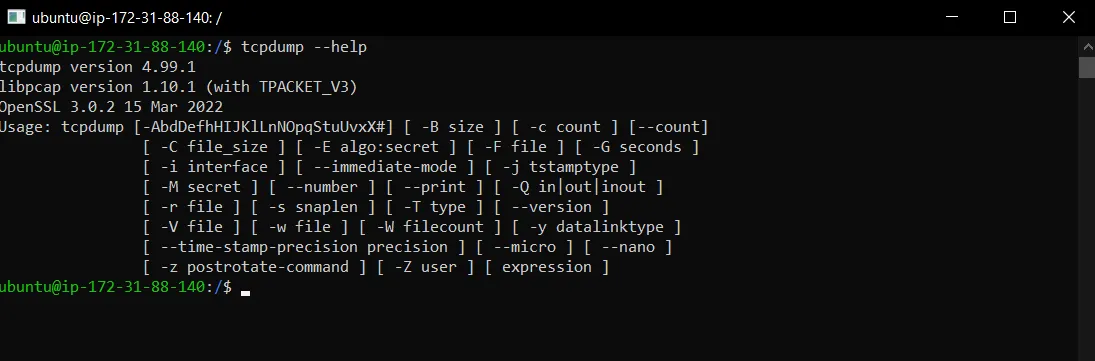
So tcpdump comes by default in Linux and Mac machines. However, for windows, there is a different process to do it. So I spun up an EC2 instance based on Ubuntu and the first command I used is tcpdump — help to cofirm whethere the it is present or not.
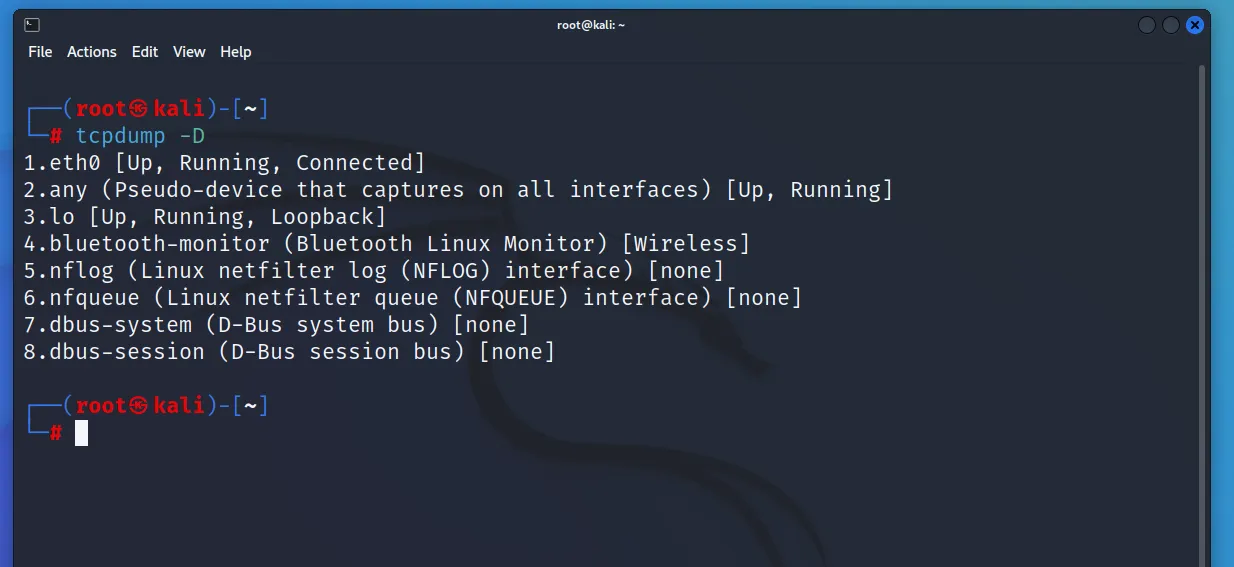
By default tcpdump will capture all the traffic from all the interfaces. That means sometimes we are connected with LAN as well as WiFi connection. So in order to capture the traffic from a particular interfaces like ethernet or wifi, we will see first the available network interface.
tcpdump -D >> it will show the available interfaces in the current device
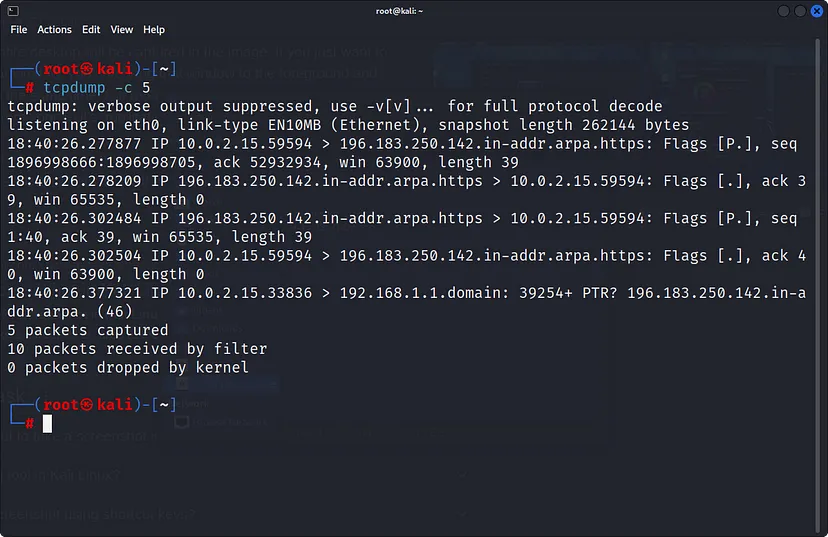
To limit the packet capturing
tcpdump -c 5
So here I am listing some useful commands that will be helpful to capture the packets from the network. Make sure you are the root user.
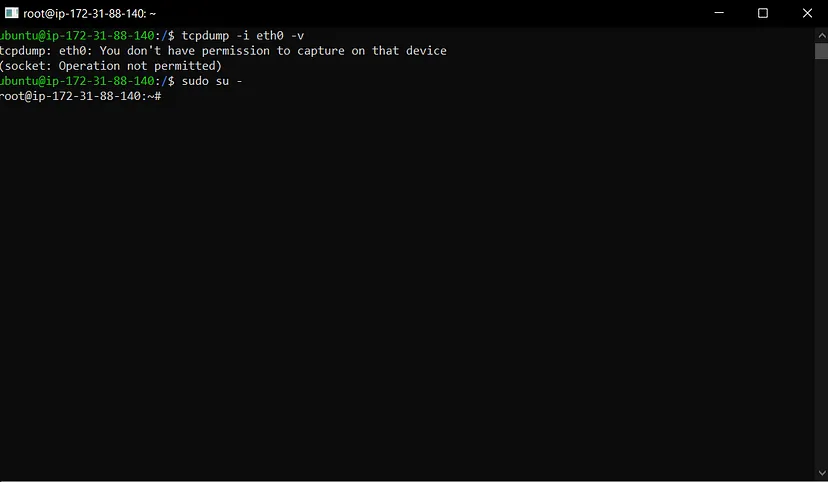
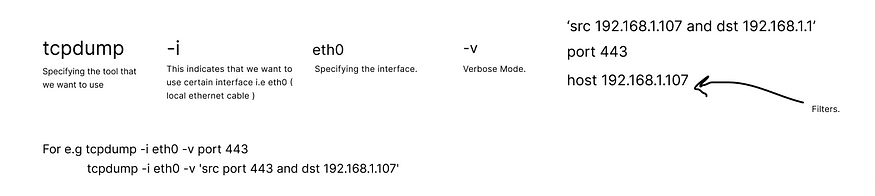
tcpdump -i eth0 -v
The above command will capture all the traffic but that is not useful for us. So we will be applying filters to the traffic so we will get only those packets that we want. So everything beyond -v is filtering.
Let’s look at this filter
tcpdump -i eth0 -v host 8.8.8.8
It will capture all the traffic from host 8.8.8.8 which is nothing but google server ip.
tcpdump -i eth0 -v dst 172.31.88.140
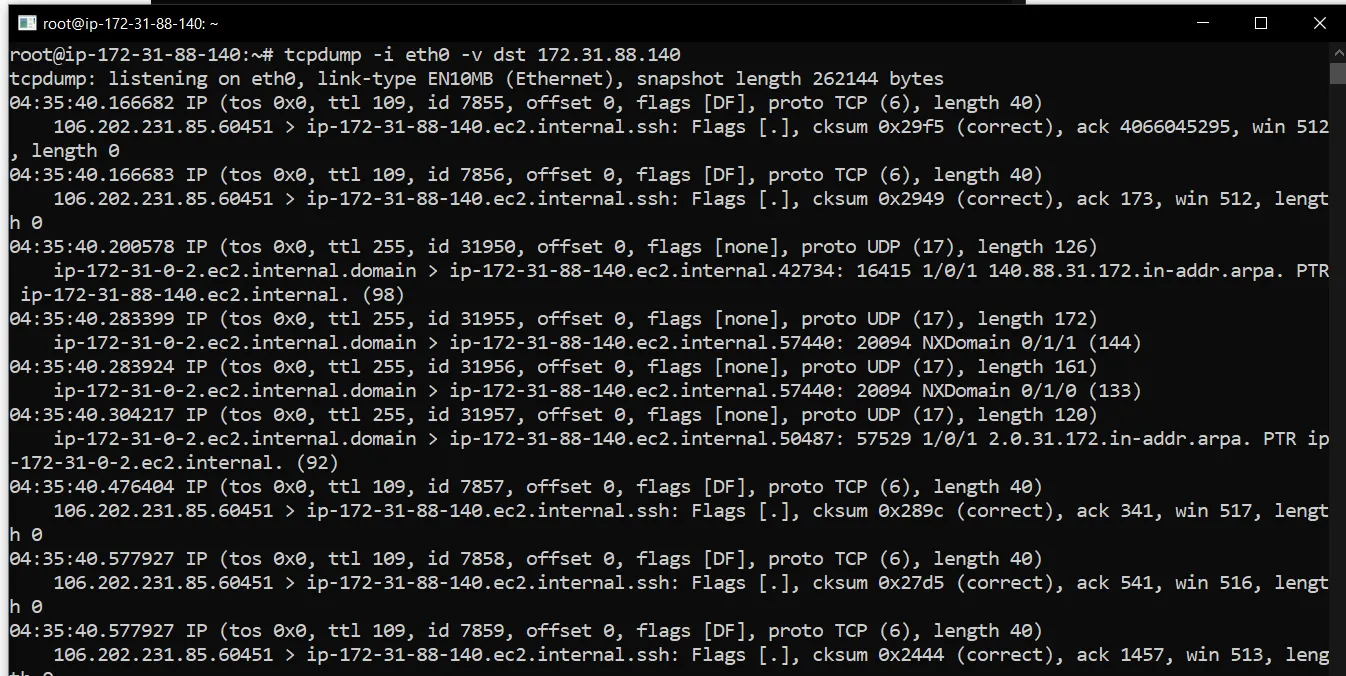
It is capturing all the packets that are reaching the IP 172.31.88.140 which is nothing but my own machine.
tcpdump -i eth0 -v src 172.31.88.140

All the traffic that goes from my machine to the network.
So the real magic is in combining the filters where we get the useful packets that we can use for analysis. Let’s look at some of the best practices for combining the filters.
tcpdump -i eth0 -v dst 172.31.88.140 and src 192.168.1.1
This will capture all the traffic that is flowing from the default gateway 192.168.1.1 to the local machine.
tcpdump -i eth0 -v net 192.168.1.0/24
It will capture all the traffic in the subnet.
So as I said in the start tcpdump is used for capturing the packets and we bring that packets to Wireshark for better analysis using graphical mode because we all love graphics.
tcpdump -i eth0 -v tcp and net 192.168.1.0/24
It will capture only TCP traffic in the subnet 192.168.1.0/24
So if we want to capture traffic from a particular port
tcpdump -i eth0 -v port 443
All the traffic that is flowing from port 443 ( TCP port).
tcpdump -i eth0 -v ‘src port 443 and dst 192.168.1.107’
I included the single quote in the filter here that is best practice.
Now coming to save your file into pcap file.
tcpdump -w /root/Desktop.traffic.pcap -i eth0 -v ‘tcp and net 192.168.101/24’

We can stop capturing when we think we got the sufficient packets to analyze by pressing Cntrl + C.
Thanks for the reading.

